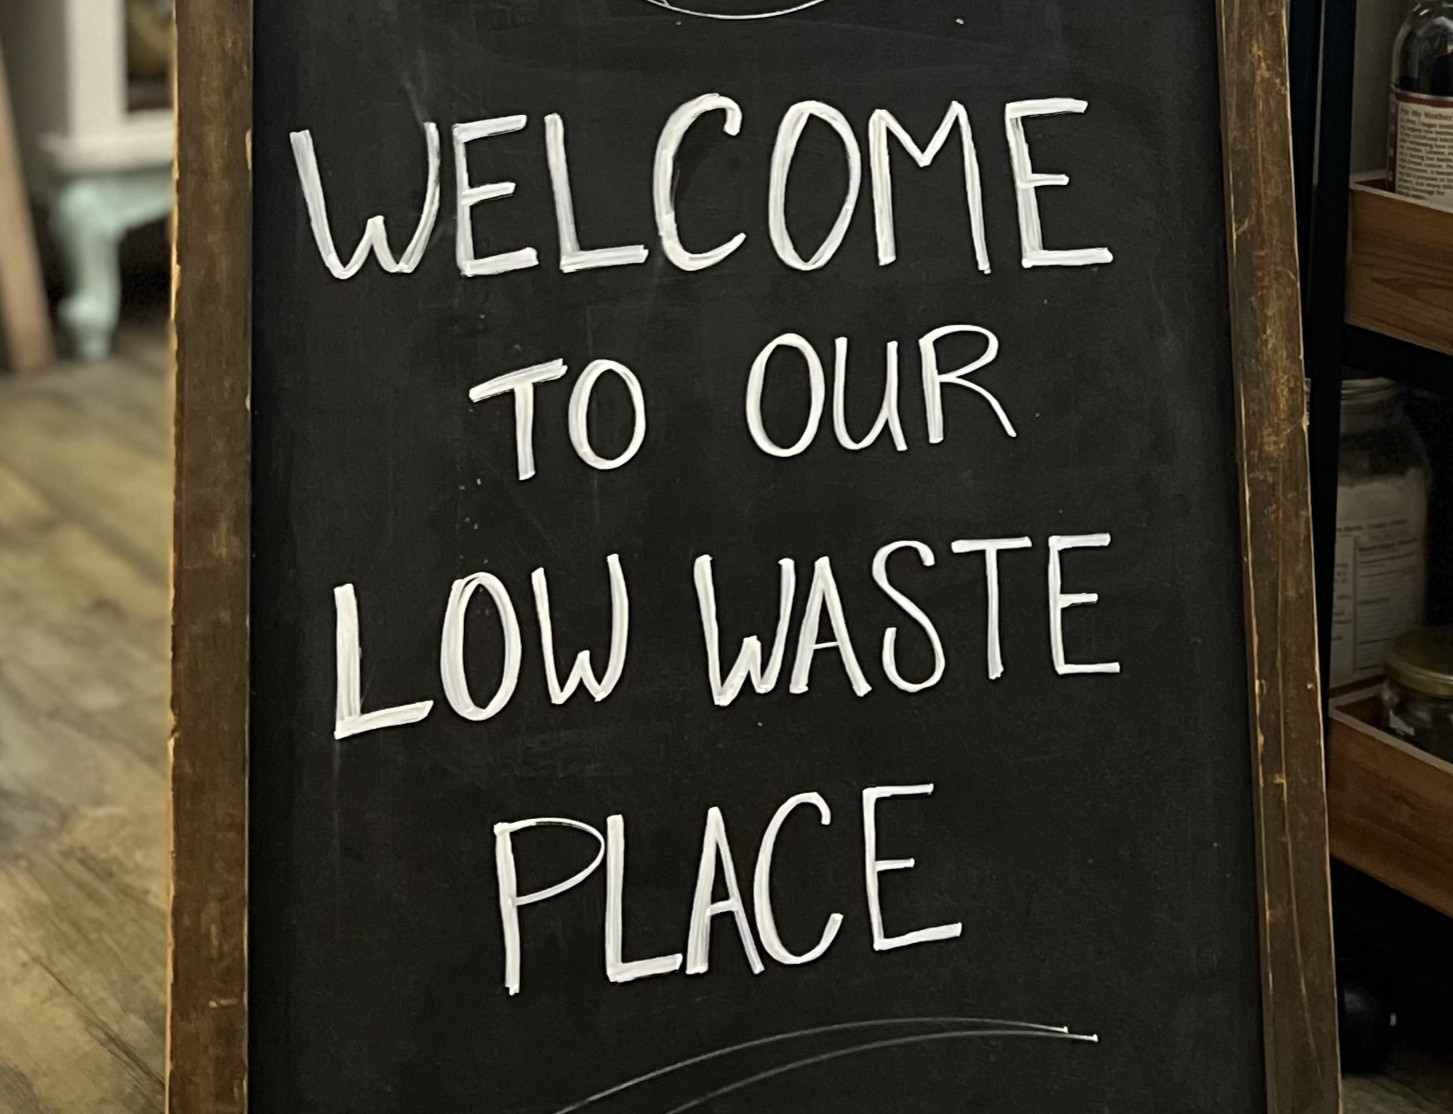
Many of our customers at Life Unplastic are definitely prioritizing eco-friendliness when they shop sustainably. But we also get customers who are in the low-waste game for different reasons. Turns out there’s a whole lot more to less waste.
First of all, if you’re watching your budget, you can be sure that reusable products with simple ingredients will carry you a lot further that single-use synthetic ones.

Reasons to go low waste for your wallet
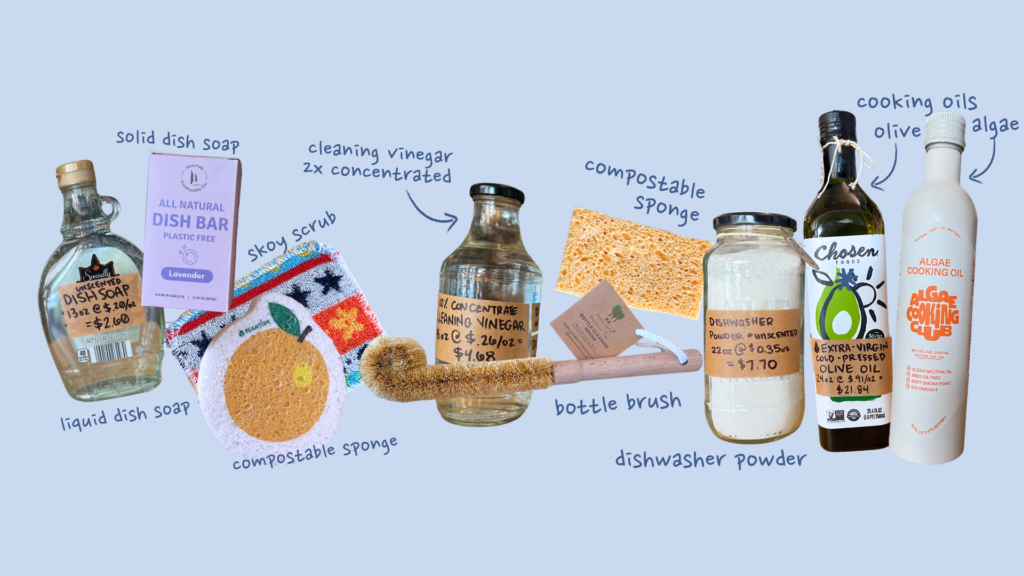
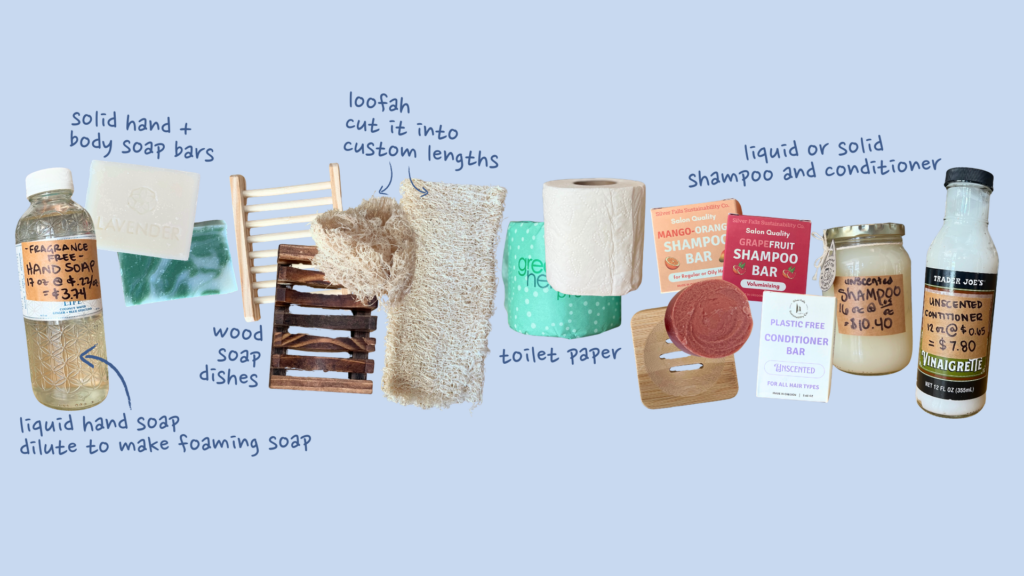
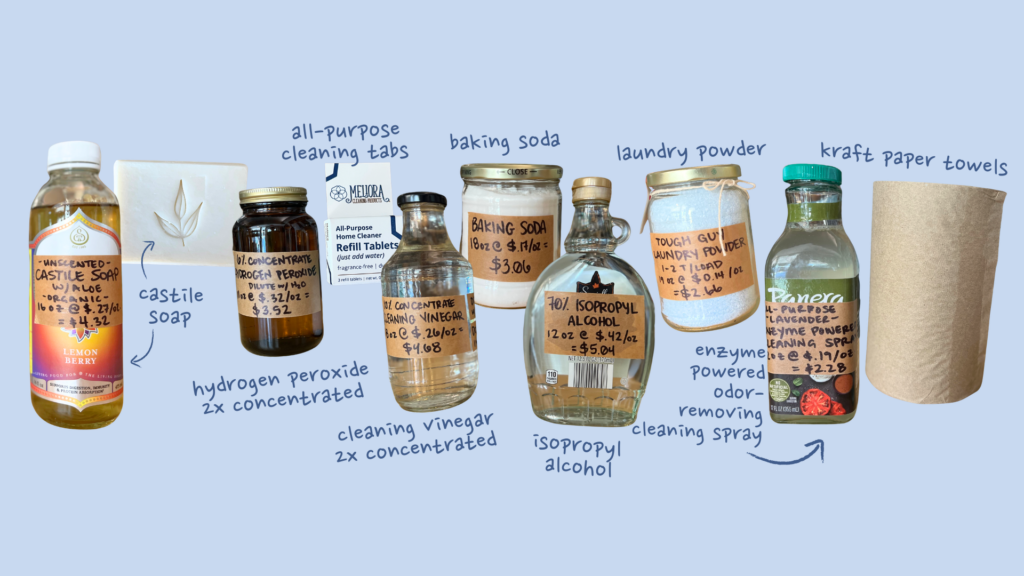
Package-free goods like refills or naked soap bars ensure that you’re only paying for the actual product you’re using, and none of the price goes towards the packaging.
Similarly, extra-concentrated products make sure you’re not paying to package and ship the water you can just get from the tap. Concentrated bulk products also mean you can buy half as much, and dilute it at home!
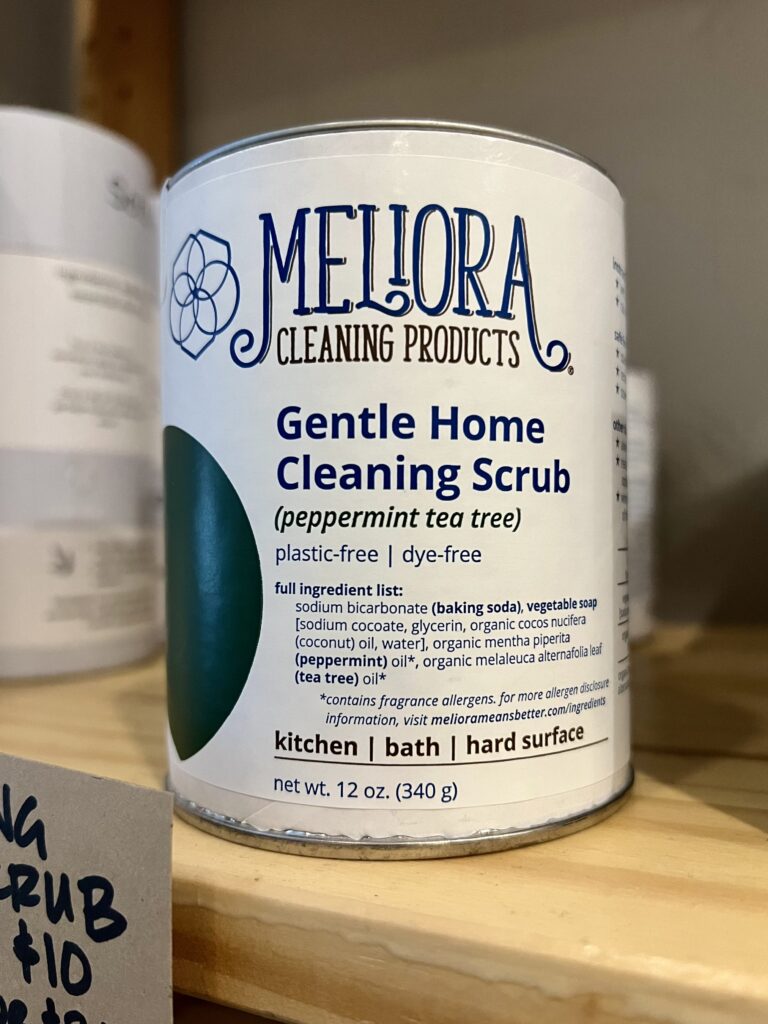
A lot of organic or bio-based products have simple ingredients and nix the synthetic additives or fragrances. These simple recipes cut the cost for the consumer, and legible ingredients lists make it really difficult for companies to upcharge you for something you could make at home for cheaper.
These same simple ingredients can be used in many diverse ways! That’s actually a focus of low-waste lifestyles: cutting down on the amount of specific, distinct products you buy. The natural loofahs we sell aren’t over-engineered specifically for one scrubbing task; they can be used in your shower, to clean dishes, on the countertops or floors… you name it. You can even customize the size by cutting the loofah up however you’d like, so you can get many sponges out of one purchase!
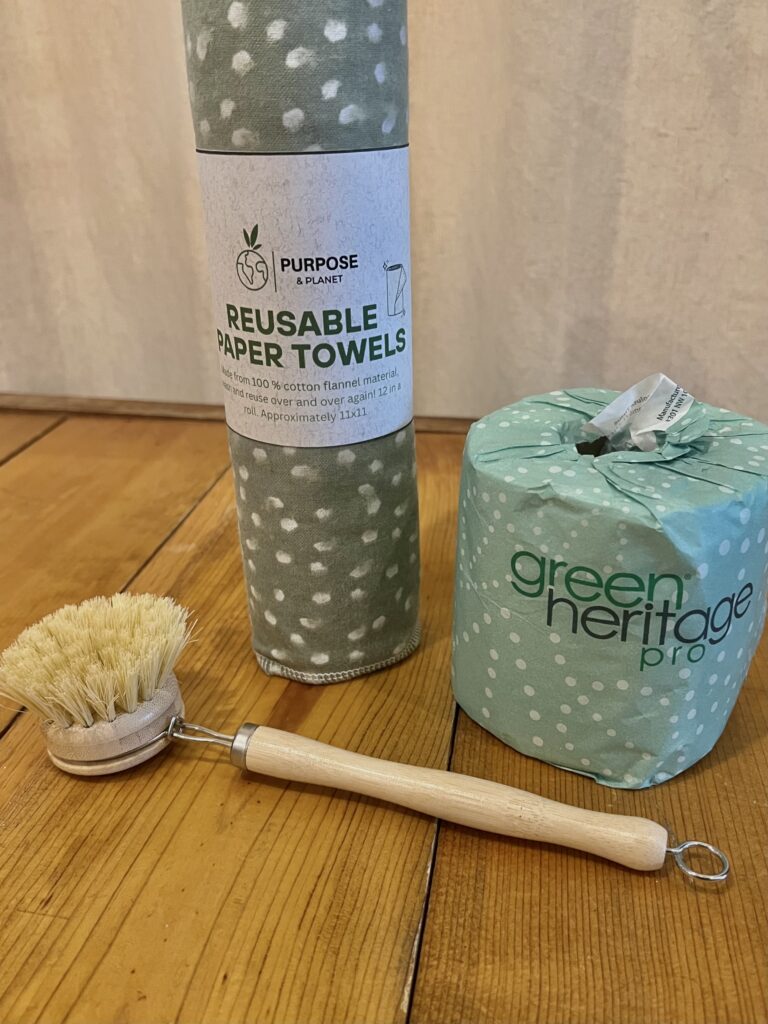
Products like reusable “paper” towels last much, much longer than they single-use, straight-to-landfill items they replace. Think about it. Instead of buying dryer sheets every month or so, wouldn’t it be nice if you could just get a couple dryer balls once, and then not have to replace them for years?
… which reminds us, there’re a lot of mental work that goes into shopping for your home…

Reasons to go low-waste for your mind:
We’ve talked about it before in a climate activism context, but it’s real in your everyday routine as well: decision fatigue. It’s that feeling of “oh, geez, how will I know if I’m making the right choice?!” that happens when you’re confronted with a wall of options. Low-waste lifestyles take a lot of that stress away by emphasizing simple.
Most sustainable businesses’ shelves are a lot less crowded than big box retailers like Walmart or Target, simply because there’s less of a capitalist mindset, and a focus on small, local businesses that find their own niche rather than competing with each other to sell nearly identical products.
Sustainable brands are also mercifully prone to transparency, with legible labels and minimal advertising. It’s about what the product actually does for you in your real life, not brand loyalty or gimmicky mascots.
Products that are created sustainably are created with the end in mind. This means you often don’t need to worry about the proper disposal. A lot of Life Unplastic’s products are home-compostable, and even more are reusable and refillable, so you don’t need to get rid of them at all!
Unfortunately, some products are designed to be sold, not to be used, so not only are they made without the end in mind, they’re not even made with your best interests in mind.

Reasons to go low-waste for your health:
You’ve probably heard the term “microplastics” before. If you haven’t, here’s the scoop: plastic doesn’t break down chemically, but it DOES break apart, physically.
For example, when you use a plastic dish sponge in hot water, the heat breaks little pieces of plastic off onto your dishes and down your drain. These little plastics are called microplastics, and some of them are so small you can’t detect them with a naked eye. Microplastics have been found pretty much everywhere scientists have looked, and they’ve looked pretty much everywhere, including inside of human bodies. Scientists have estimated that an average adult consumes enough microplastics in one week to make a credit card.

The health implications of microplastics are not certain yet, and the research around them is still heavily debated as it evolves. The tiny bits of plastic have been found in connection to inflammation, heart attacks, and cancer, to name a few scary afflictions.
We’re not here to scare you, but we’d be remiss if we didn’t mention microplastics in a blog about the benefits of low waste living. Avoiding plastic waste oftentimes means avoiding plastic altogether, which is the best way to avoid microplastics. Opting for materials like wood, sisal, cotton, glass, linen, silicone, bamboo, steel, or other bio-based and non-plastic materials can eliminate plastics from your home AND help send a message to corporations that consumers are not interested in risking it for convenience anymore.